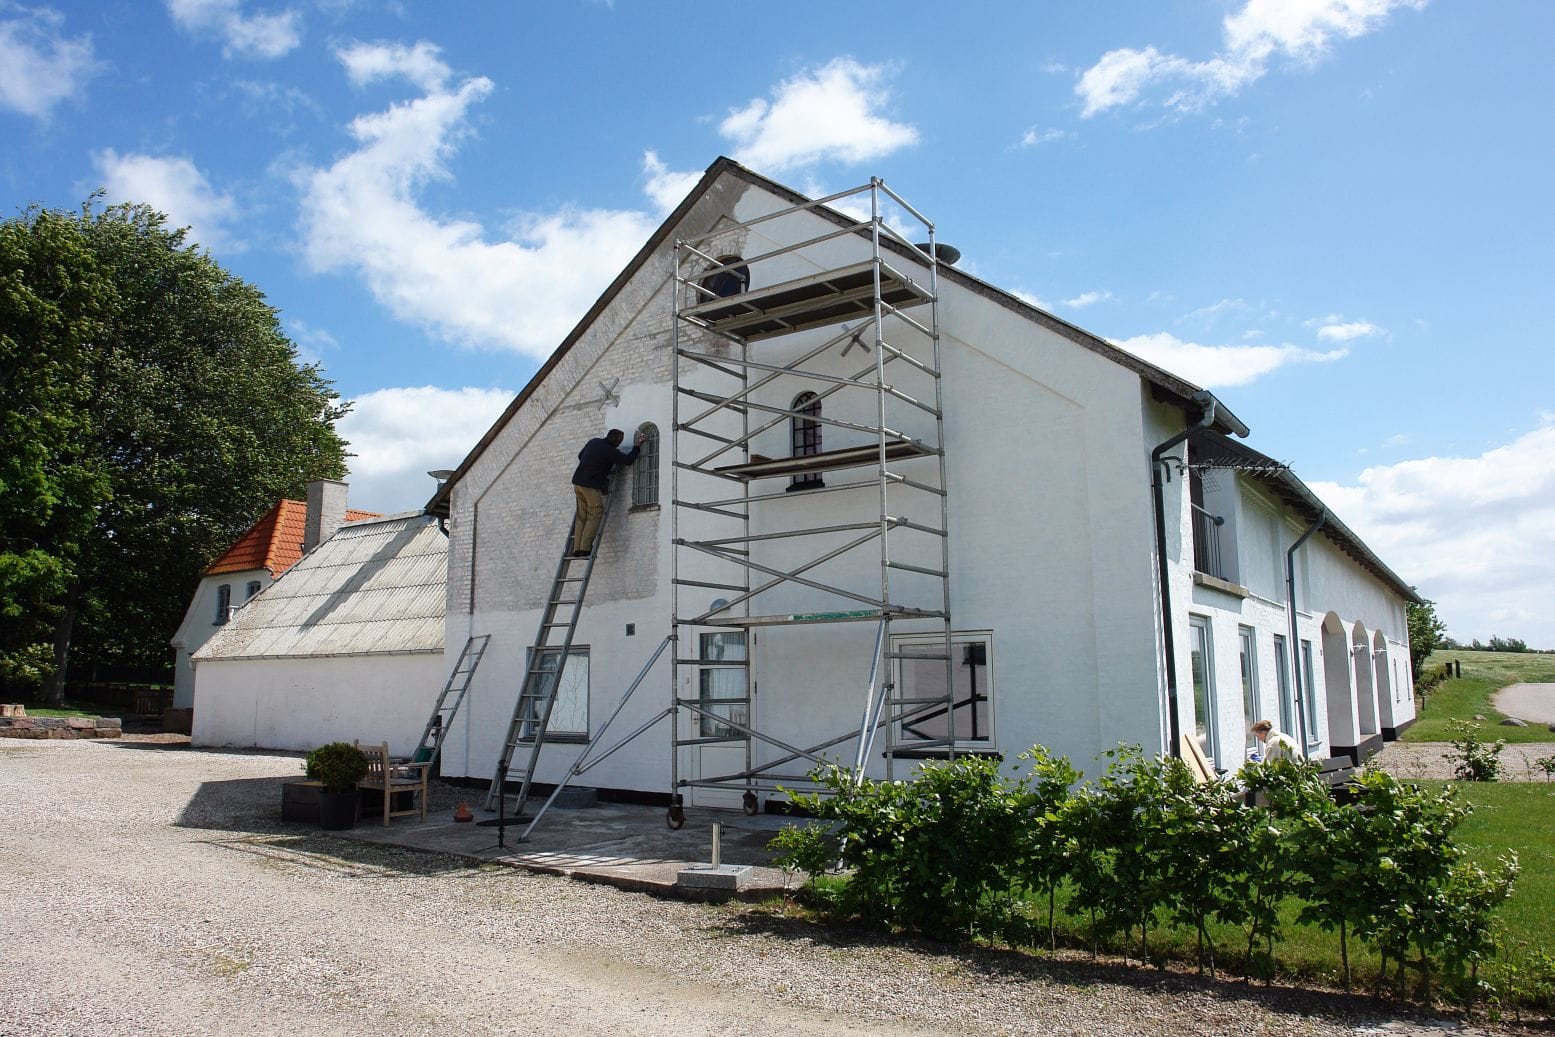
Your exterior paint does more than make your house look good from the curb. It’s the first line of defense against everything Central Florida throws at it—UV rays that break down pigments, humidity that feeds mildew, and summer storms that test every seal and seam. But here’s what most homeowners don’t realize until it’s too late: the paint itself is only half the equation. How you prepare the surface determines whether your investment lasts three years or seven. Skip steps, rush the timeline, or ignore moisture issues, and you’ll watch your fresh coat bubble and peel before the next hurricane season. This guide breaks down the real preparation work that matters, the Florida-specific challenges you can’t ignore, and what to expect when you’re getting ready for exterior house painting that actually holds up.
What Professional Exterior Painting Services Include
Professional exterior painting isn’t just about applying two coats and calling it done. The work starts weeks before any paint touches your walls, and it involves a level of surface assessment most DIY projects skip entirely.
A proper exterior paint job breaks down into distinct phases: surface evaluation, comprehensive prep work, primer application, and finish coating. Each phase has to happen in the right order, under the right conditions, or the whole system fails. In Orange County, FL, that means factoring in afternoon thunderstorms, managing humidity levels, and timing the work around Florida’s weather patterns.
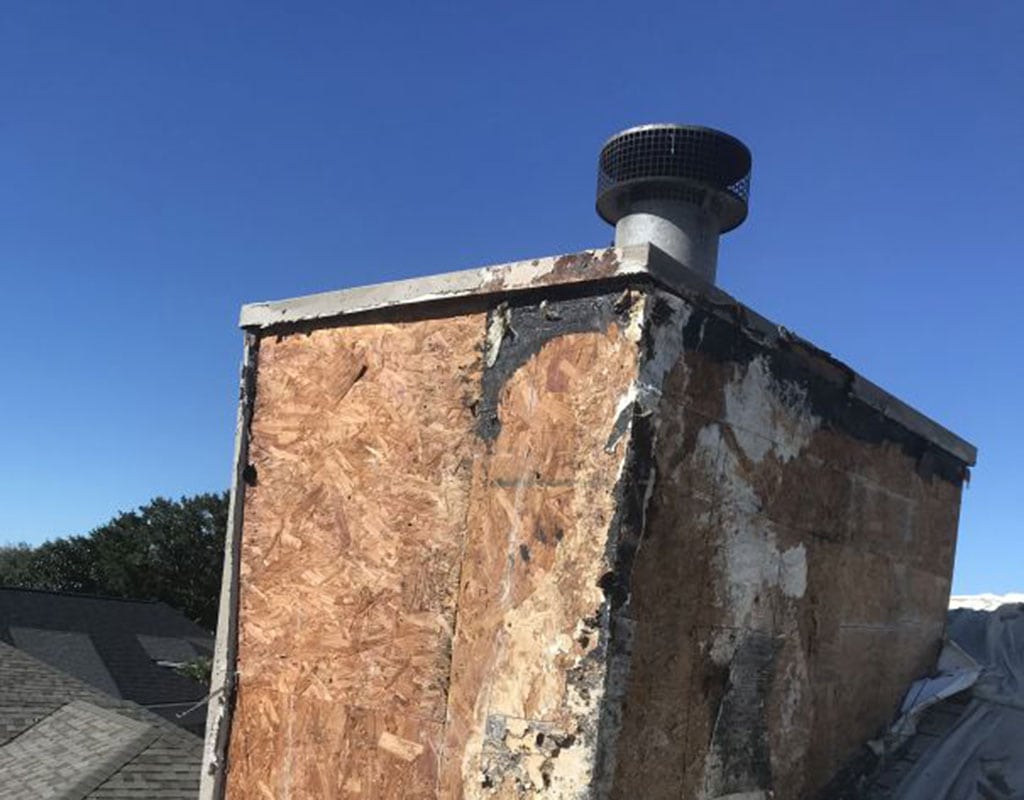
The evaluation phase identifies what you’re actually dealing with. Peeling paint, wood rot under stucco, cracks in trim, mildew on north-facing walls—these aren’t just cosmetic issues. They’re structural problems that paint will never hide. We know where to look and what to fix before prep even begins.
Surface Assessment and Inspection Before Painting
Before anyone touches a pressure washer or scraper, you need to know what’s actually happening on your exterior surfaces. Walk the perimeter of your house in full daylight. Look for areas where paint is already failing—bubbling near windows, peeling on trim, chalking on south-facing walls that get hammered by afternoon sun.
Check every piece of wood trim, especially around doors and windows where water tends to collect. Press a screwdriver gently into the wood. If it sinks in easily, you’ve got rot that needs to be cut out and replaced before any painting happens. This is common in Florida homes, where moisture doesn’t just visit—it moves in permanently.
Pay attention to your stucco if you have it. Hairline cracks are normal, but anything wider than a credit card needs to be addressed. Water gets into those cracks, sits behind your paint, and creates the perfect environment for mold and structural damage. Elastomeric coatings can bridge small cracks, but larger ones need proper patching with stucco repair compound.
Look at your caulking around windows, doors, and trim joints. If it’s cracked, missing, or pulling away from the surface, it’s not doing its job anymore. Old caulk has to come out completely before new caulk goes in. Painting over failed caulk just locks in the problem.
Don’t ignore mildew. Those black or green streaks on shaded areas aren’t just dirt. Mildew grows in Florida’s humidity, and it will grow right through fresh paint if you don’t kill it first. You’ll need a proper cleaning solution—usually a bleach mixture or specialized mildewcide—to eliminate it at the source.
Finally, check your gutters and downspouts. If water isn’t draining away from your house properly, it’s running down your walls and undermining whatever paint you put on. Fix the drainage before you paint, or you’ll be repainting those areas in two years instead of seven.
Cleaning and Surface Preparation Methods
Once you know what you’re dealing with, the real prep work begins. Surface cleaning is non-negotiable. Paint needs a clean, dry surface to bond properly, and Florida exteriors collect dirt, pollen, mildew, and salt residue that prevent adhesion.
Pressure washing is the most efficient way to clean large exterior surfaces, but it’s not as simple as pointing a nozzle and pulling the trigger. Too much pressure damages wood, drives water behind siding, and creates bigger problems than it solves. Stucco and textured surfaces need lower PSI settings than you’d use on concrete. We know the right pressure for each material and how to angle the spray to avoid forcing water into places it shouldn’t go.
After pressure washing, your surfaces need time to dry completely. In Florida’s humidity, that means at least 24 to 48 hours, sometimes longer if you’ve got shaded areas that don’t see much sun. Painting over damp surfaces traps moisture under the paint film, leading to blistering and peeling within months.
Scraping comes next. Every bit of loose, flaking, or peeling paint has to come off. You can’t paint over it and expect it to hold. Use a pull scraper with a sharp blade—dull blades just bounce over the surface instead of removing failed paint. Work methodically, section by section, until you’re down to sound paint or bare substrate.
Sanding smooths the edges where old paint meets bare wood or stucco. You’re creating a gradual transition so the new paint doesn’t show ridges and lines. It also roughs up glossy surfaces just enough to give the new paint something to grip. Use medium-grit sandpaper for most surfaces, finer grit for detail work on trim.
Caulking is where attention to detail separates adequate prep from professional prep. Remove all old, failed caulk with a caulk removal tool or utility knife. Clean the joints thoroughly—caulk won’t stick to dirty surfaces. Apply new paintable exterior caulk to every joint, seam, and gap. Smooth it with a wet finger or caulk tool so it’s flush with the surface. Let it cure according to the manufacturer’s directions before painting over it.
Prime any bare wood, patched stucco, or areas where you’ve made repairs. Primer seals the surface, prevents stains from bleeding through, and gives your topcoat a uniform base to adhere to. In Florida, use a primer designed for high-humidity environments—standard primers don’t cut it when you’re dealing with moisture levels that stay above 70% for months at a time.
Preparing Your House for Painting Exterior in Florida’s Climate
Florida isn’t like other places when it comes to exterior painting. The combination of intense UV radiation, high humidity, salt air in coastal areas, and daily temperature swings creates conditions that destroy paint faster than almost anywhere else in the country. Preparing your house for painting exterior surfaces here means accounting for all of it.
Timing matters more in Florida than in drier climates. The dry season—roughly October through March—offers the best conditions for exterior painting. Lower humidity, fewer afternoon storms, and more consistent temperatures let paint cure properly. Summer painting is possible, but it requires careful scheduling around weather and working in early morning or late afternoon when temperatures and humidity are more manageable.
Your paint selection has to match the climate. Acrylic latex paints are the go-to choice for Florida exteriors because they’re flexible, breathable, and resistant to UV damage. They expand and contract with temperature changes without cracking. For stucco homes, elastomeric coatings provide superior waterproofing and can bridge hairline cracks that would otherwise let water penetrate.
Managing Moisture and Humidity During Prep
Moisture is the silent killer of exterior paint jobs in Central Florida. It doesn’t matter how good your paint is or how skilled your application technique—if moisture gets trapped under the paint film, the job will fail.
Start by understanding where moisture comes from. Rain is obvious, but in Florida, you’re also dealing with dew that forms overnight, humidity that keeps surfaces damp even on sunny days, and sprinkler systems that spray walls instead of just grass. All of these sources can compromise your prep work and your paint if you’re not paying attention.
Check the weather forecast before you start any phase of prep or painting. You need at least 24 hours of dry weather after pressure washing before you can move to the next step. You need dry conditions during primer application and for at least 24 hours afterward. Same for your topcoats. One unexpected afternoon thunderstorm can wash away hours of work if the paint hasn’t had time to cure.
Use a moisture meter if you’re serious about getting this right. These inexpensive tools tell you exactly how much moisture is in your wood or stucco. If the reading is above the manufacturer’s recommended level for painting, you wait. Period. Painting over wet surfaces is the fastest way to guarantee peeling paint within a year.
Pay special attention to areas that don’t get direct sunlight. North-facing walls, areas under eaves, and spaces shaded by trees or other structures stay damp longer than sun-exposed areas. These spots need extra drying time and often benefit from mildew-resistant primers and paints.
Trim back vegetation before you start. Bushes, vines, and tree branches that touch your walls hold moisture against the surface and prevent proper air circulation. They also make it impossible to prep and paint those areas properly. Cut everything back at least 12 inches from your walls, and plan to keep it that way after the paint job is done.
Check your gutters and downspouts again. If water is overflowing or draining near your foundation, it’s splashing back onto your freshly painted walls. Fix the drainage issues before you paint, or accept that you’ll be dealing with water stains and paint failure in those areas.
Choosing the Right Time and Conditions for Exterior House Painting
Temperature, humidity, and weather conditions control when you can paint and when you need to wait. Paint manufacturers provide specific application guidelines—usually temperatures between 50°F and 85°F, humidity below 70%, and no rain in the forecast for 24 hours. In Orange County, FL, meeting all three conditions simultaneously is easier said than done.
Fall and winter offer the most reliable painting windows. October through March brings lower humidity, fewer afternoon storms, and more stable temperatures. You’ll have longer stretches of good weather, which means fewer delays and better curing conditions. We book up fast during these months because everyone who understands Florida’s climate wants their work done then.
Spring can work, but you’re gambling. March and April are transitional months when weather patterns shift. You might get a perfect week, or you might get three days of rain. If you’re scheduling for spring, build in flexibility and have a backup plan for weather delays.
Summer is the hardest season for exterior painting in Florida. High humidity, daily afternoon thunderstorms, and extreme heat create challenging conditions. Paint can dry too fast on the surface in direct sun while staying wet underneath, leading to poor adhesion. Humidity slows curing times, and afternoon storms can wash away work before it has time to set. If you must paint in summer, work early in the morning before temperatures and humidity spike, and watch the radar constantly.
Don’t paint in direct sunlight when temperatures are above 85°F. The surface temperature of your siding can be 20-30 degrees hotter than the air temperature, causing paint to dry too quickly and not bond properly. Follow the shade around your house, or work on cloudy days when surface temperatures are more moderate.
Check the dew point, not just the humidity reading. When temperatures drop close to the dew point, moisture condenses on surfaces even if it’s not raining. Painting under these conditions traps that moisture under your paint film. Most paint manufacturers recommend painting when the surface temperature is at least 5 degrees above the dew point.
Plan for the unexpected. Keep tarps ready to cover partially completed work if a storm rolls in. Have a contingency schedule that accounts for weather delays. We build this flexibility into our timelines because we know Florida weather doesn’t follow predictions.
Getting Your Exterior Painting Preparation Right
The difference between a paint job that lasts three years and one that protects your home for seven comes down to preparation. It’s not glamorous work—scraping, washing, caulking, priming—but it’s where the real value lives. In Florida’s climate, cutting corners on prep means accepting early failure.
You can handle some of this work yourself if you have the time, tools, and patience. But understanding what professional preparation looks like helps you make better decisions, whether you’re doing it yourself or hiring it done. The investment in proper prep work pays back in longevity, protection, and not having to repaint your house every three years.
When you’re ready to move forward with exterior painting that’s built for Central Florida’s climate, we bring the experience and attention to detail that proper preparation demands. Reach out for a free estimate and a realistic assessment of what your project needs.