You notice a crack running down your exterior wall. It’s not huge—maybe the width of a credit card, maybe thinner. Part of you wants to ignore it. Another part wonders if it’s the beginning of something worse.
Here’s the truth: some cracks are harmless. Others are your home telling you there’s a problem brewing behind that stucco finish—moisture seeping in, wood rotting, or your foundation shifting. In Central Florida’s humid climate, the difference between “just a crack” and “expensive structural damage” can be a matter of months, not years.
This guide helps you figure out which cracks you’re dealing with and what to do about them.
Understanding Stucco Crack Types and What Causes Them in Florida
Stucco cracks aren’t random. They form for specific reasons, and the pattern, location, and size tell you what’s happening beneath the surface.
In Central Florida, your stucco faces challenges most other regions don’t deal with. We’re talking 50+ inches of rainfall annually, humidity that hovers above 90%, afternoon storms that pound your walls with wind-driven rain, and temperature swings that make materials expand and contract daily. Add in Florida’s sandy soil and the way homes settle, and you’ve got the perfect recipe for cracks.
The key is knowing which cracks are just your home adjusting to life in Florida, and which ones are warning signs that something’s failing. Let’s break down what you’re actually looking at when you spot damage on your exterior walls.
Stucco Crack Repair: Hairline vs. Structural Cracks
Hairline cracks are thin—typically 1/16 to 1/8 of an inch wide. They look like fine lines etched into your stucco, sometimes barely visible unless you’re standing close. These often show up from normal settling, minor shrinkage as materials cure, or the daily thermal expansion that happens when Florida’s sun heats your walls and then cools them at night.
Most hairline cracks are cosmetic. They’re annoying to look at, sure, but they’re not threatening your home’s structure. You can often handle these yourself with the right caulk and a little patience. The material flexes with your walls, seals out moisture, and keeps the crack from widening.
But here’s where it gets tricky. Not every thin crack is harmless. If that hairline crack keeps coming back after you patch it, or if you’re seeing multiple hairline cracks forming a spiderweb pattern across your wall, you’re looking at something different. Pattern cracking usually means the lath underneath wasn’t installed properly, or the base coat application had issues. Water might already be getting behind your stucco, and that’s when “minor” becomes “call someone.”
Structural cracks are wider—anything over 1/8 inch—and they often run diagonally, especially near windows and doors. These are red flags. Diagonal cracks typically signal foundation settlement or structural movement. Your home is shifting, and the stucco is cracking under the stress. You’ll also see these cracks around openings where the framing experiences the most stress.
Here’s the thing about structural cracks: patching the surface doesn’t fix the problem. The crack will reappear because the underlying issue—whether it’s your foundation settling unevenly or framing movement—is still there. These need professional assessment, often from someone who can look beyond the stucco to what’s happening with your foundation and framing.
In Florida’s climate, any crack becomes more serious faster than it would elsewhere. Our humidity and rainfall mean that once moisture finds a way in through a crack, it doesn’t just sit there. It soaks into your sheathing, creates conditions for mold growth within 24 to 48 hours, and starts rotting the wood framing that holds everything together. What starts as a crack you could fix with a $15 tube of caulk can turn into a $5,000 repair involving rotted wood replacement, mold remediation, and complete stucco reconstruction.
The question you need to answer isn’t just “how big is this crack?” It’s “what’s causing it, and is moisture already behind my walls?”
Stucco Patch Repair: Common Causes in Central Florida Homes
Florida’s climate doesn’t just challenge your stucco—it actively works against it. Understanding why cracks form here helps you figure out whether you’re dealing with a one-time fix or an ongoing problem.
Thermal expansion and contraction happen every single day. When the sun hits your stucco in the afternoon, the material heats up and expands. At night, it cools and contracts. This constant movement creates stress, especially where stucco meets other materials like wood trim or metal flashing. Over years, this cycle creates fine cracks, particularly on south and west-facing walls that get the most sun exposure.
Moisture intrusion is the big one in Central Florida. Our afternoon thunderstorms don’t just rain—they drive water sideways into your walls. If your flashing around windows and doors isn’t properly installed, or if caulking has dried out and cracked, water finds its way behind the stucco. Once it’s back there, it weakens the substrate, causes efflorescence (those white powdery deposits you sometimes see), and leads to spalling where chunks of stucco start breaking away.
Foundation settlement is common in Florida because of our sandy soil. As your home settles—which is normal in the first few years after construction—the movement can transfer stress to your stucco. You’ll see this as diagonal cracks, often starting at the corners of windows or doors and running at a 45-degree angle. These cracks tell you the building itself is moving, not just the stucco finish.
Improper installation causes more problems than most homeowners realize. During Florida’s building boom in the 2000s, contractors were rushing to keep up with demand. Stucco got applied too thin (less than the required 7/8 inch), didn’t get proper curing time between coats, or was installed without adequate moisture barriers. Homes built during that period are now showing the consequences—widespread cracking, water damage, and in severe cases, complete stucco failure.
The lath—that metal mesh that gives stucco something to grip—sometimes wasn’t nailed on properly. When it’s loose, the stucco cracks as it moves independently from the wall behind it. You’ll see this as a grid pattern of cracks, both vertical and horizontal, creating what looks like a checkerboard across your wall.
Control joints are supposed to be installed in stucco to give it room to move without cracking randomly. When builders skip these or place them incorrectly, you get cracks in places you shouldn’t. It’s like trying to fold a piece of paper without creasing it—the material has to release stress somewhere, and without proper joints, it cracks wherever it’s weakest.
Here’s what makes Florida different from other places: all these issues happen faster and with more serious consequences. In a dry climate, a crack might stay stable for years. Here, that same crack becomes a water intrusion point during the next thunderstorm. The moisture doesn’t evaporate quickly in our humidity—it sits there, soaking deeper, creating the perfect environment for mold and rot.
If you’re seeing cracks, the question isn’t just “what caused this?” It’s “how long has moisture been getting in, and what’s the condition of the materials behind my stucco?”
Professional Assessment: When Patching Stucco Isn’t Enough
There’s a point where patching stucco yourself stops being a smart money-saving move and starts being a gamble with your home’s structural integrity. Knowing where that line is can save you thousands.
The general rule: if you’re seeing cracks wider than 1/8 inch, cracks that keep coming back after you patch them, or any signs of moisture damage (brown streaks, soft spots, bulging areas), it’s time to call someone who knows what they’re looking at. These aren’t just cosmetic issues you can seal with caulk. They’re symptoms of problems happening behind your walls.
We don’t just look at the crack—we assess what’s causing it. We check for moisture intrusion using meters that detect water you can’t see. We tap on your walls listening for hollow sounds that indicate the stucco has separated from the substrate. We examine your flashing, your control joints, and the condition of materials around penetrations like windows and vents.
Repair Stucco Hole: The Professional Repair Process
When you hire experienced contractors for stucco repair, you’re not just paying for someone to smear patch material into a hole. You’re paying for a process that addresses the root cause and prevents the problem from coming back.
The first step is a thorough inspection. We want to know what’s behind that crack or hole before we start repairs. We assess the extent of damage, check for moisture in the substrate, and determine whether the weather-resistive barrier and lath are still intact. If moisture has been getting in, we need to know how far the damage extends—is it just surface stucco, or has it compromised the sheathing and framing?
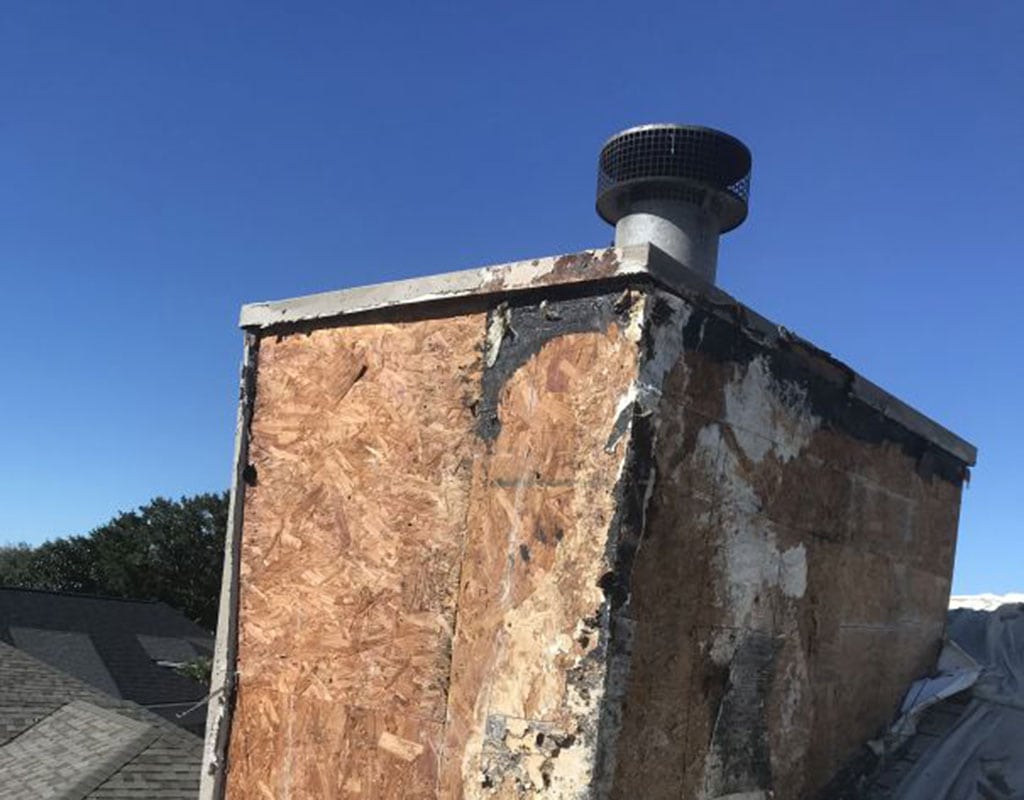
Surface preparation is where professionals separate themselves from DIY attempts. We remove all damaged material back to sound substrate. This isn’t just chipping away loose stucco—it’s cutting back to where everything is solid and dry. If the weather-resistive barrier (the waterproof layer behind the stucco) is damaged, it gets replaced. If the lath is loose or corroded, it gets refastened or replaced. You can’t build a lasting repair on top of compromised materials.
The repair itself follows a proper multi-coat process. Stucco isn’t meant to be applied in one thick layer. We apply a scratch coat first—a base layer that’s literally scratched with a tool to create texture for the next layer to grip. After proper curing time, we apply a brown coat to build up the thickness and level the surface. Finally, the finish coat goes on, matched to your existing texture and color.
Curing time between coats matters more in Florida than in dry climates. Our humidity actually helps stucco cure properly—it prevents the material from drying too fast, which causes shrinkage cracks. But it also means we need to time our work around afternoon storms and allow adequate drying between applications. Rushing this process creates repairs that fail within months.
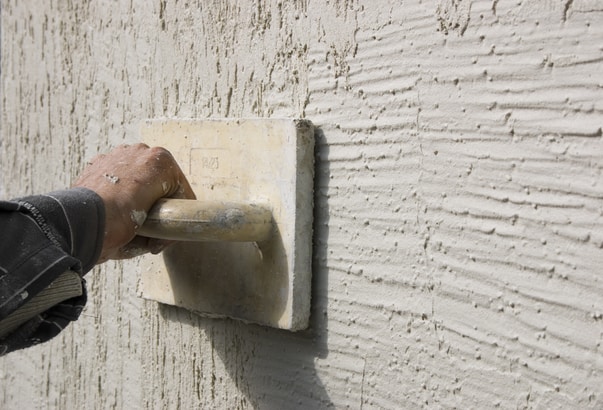
Texture and color matching is where you really see the difference between professional work and DIY attempts. Your existing stucco has years of UV exposure, weathering, and dirt accumulation that change its appearance from the original color. A fresh patch, even if mixed to the original specification, will look lighter and more uniform than the surrounding wall. We know how to blend repairs so they’re not obvious, using techniques that account for weathering and adjusting application methods to match your specific texture.
The final step—and one that many contractors skip—is addressing what caused the damage in the first place. If a crack formed because of poor drainage, that drainage issue needs to be fixed. If flashing around a window was letting water in, new flashing gets installed properly. If control joints were missing, they get added where needed. Fixing the symptom without addressing the cause just means you’ll be calling for another repair in a year or two.
For holes in stucco—whether from impact damage, rotted areas that fell away, or deliberate removal of failing sections—the process is similar but often more extensive. We need to rebuild the entire stucco system in that area, not just fill a void. This means proper lath installation, multiple coats with correct curing times, and integration with the surrounding stucco that creates a seamless, waterproof barrier.
In Central Florida, professional repairs also mean using materials designed for our climate. That includes elastomeric coatings that flex with thermal movement, moisture-resistant barriers that handle our rainfall, and sealants that maintain their integrity in high humidity and UV exposure. Using the wrong materials—like products designed for dry climates—leads to premature failure.
DIY Stucco Patching vs. Professional Repair: Making the Right Choice
The question isn’t whether you’re capable of patching a crack—plenty of homeowners successfully tackle small repairs. The question is whether your specific situation is one where DIY makes sense or where it’s likely to cost you more in the long run.
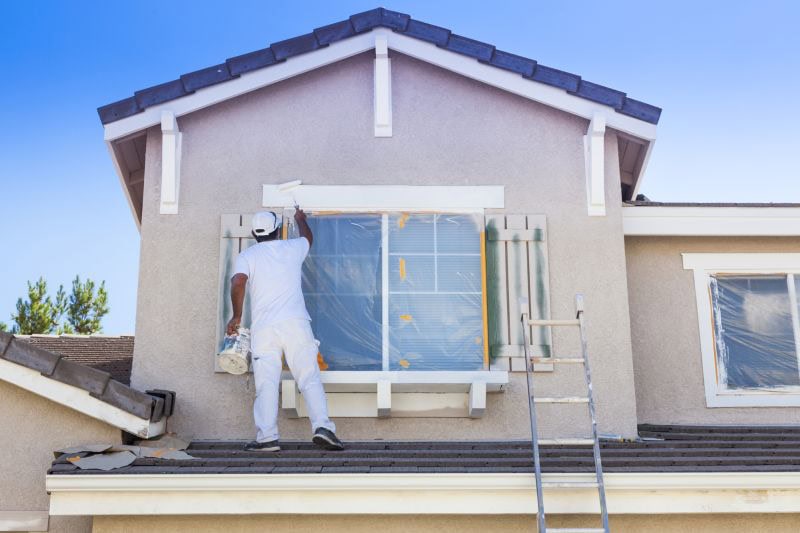
DIY patching works for genuinely minor, stable hairline cracks that are clearly cosmetic. If you’ve got a thin crack, no signs of moisture damage, no pattern of multiple cracks, and it’s not near a window or door where structural stress concentrates, you can probably handle it with elastomeric caulk and paint. You’ll need to properly clean the crack, apply the caulk correctly, match the texture reasonably well, and paint to blend it in. Total cost: $20 to $50 in materials and a few hours of your time.
But here’s where DIY becomes risky. If you patch a crack without understanding what caused it, you’re just covering up a symptom. The underlying problem—whether it’s moisture intrusion, foundation movement, or structural issues—keeps progressing behind your patch. Three months later, the crack reappears, often wider than before. Now you’ve wasted your time and materials, and the hidden damage has gotten worse.
The most expensive DIY mistake is accidentally making things worse. If you apply patch material that blocks a weep screed or drainage path, you trap moisture inside your wall. If you use the wrong product—interior caulk on an exterior crack, or a rigid patch material where you need flexibility—it fails quickly. If you don’t properly prepare the surface, your patch doesn’t bond correctly and falls off. If you apply too much material at once instead of thin layers, it shrinks as it cures and pulls away from the edges.
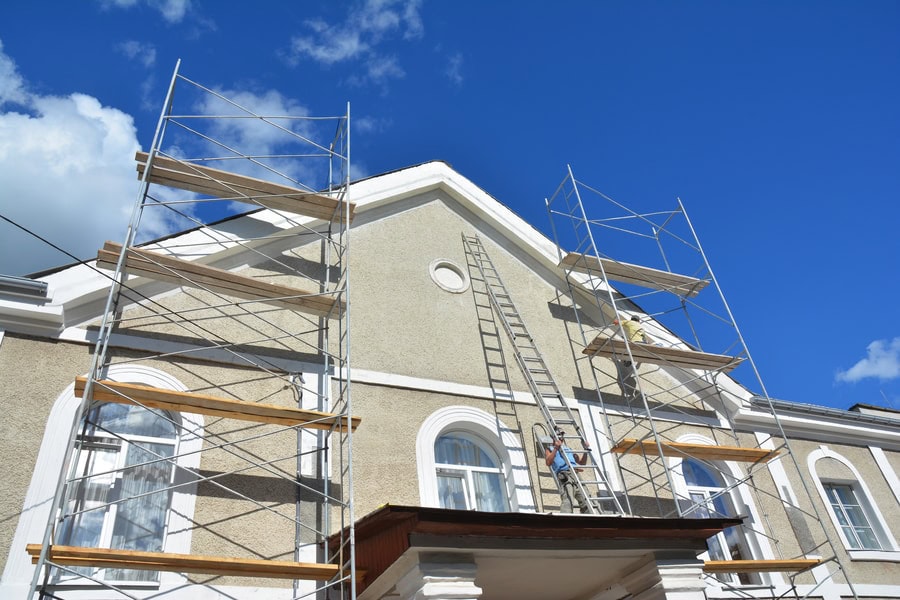
Professional repair makes sense when you’re dealing with anything beyond simple hairline cracks. That includes cracks wider than 1/8 inch, cracks that keep recurring, multiple cracks forming patterns, any crack near windows or doors, diagonal cracks, and any situation where you see moisture signs like brown streaks, soft spots, or bulging. It also makes sense if you’re not confident in your ability to properly assess the damage, match texture and color, or work safely on areas that require ladders or scaffolding.
The cost difference matters, but so does the outcome. A professional repair for a moderate crack might run $400 to $1,500 depending on the extent of damage. That sounds like a lot compared to a $15 tube of caulk. But if that professional repair includes proper moisture barrier replacement, addresses the root cause, and comes with the confidence that it won’t need to be redone in six months, it’s actually cheaper than the alternative.
That alternative—ignoring a problem or attempting DIY on damage that needs professional attention—often leads to costs in the $5,000 to $15,000 range when you finally have to address the rotted sheathing, moldy insulation, and compromised framing that developed while moisture was getting in behind your patch.
In Central Florida specifically, the timeline for damage progression is compressed. In a dry climate, you might get away with a marginal DIY repair for years before consequences catch up. Here, you’ve got months before moisture damage becomes serious. Our humidity and rainfall don’t give you the luxury of time to figure things out or see if a patch holds.
The smart approach is to get a professional assessment even if you plan to do the repair yourself. We offer free estimates and will tell you honestly whether your crack is something you can handle or whether it needs professional intervention. That consultation costs you nothing and could save you from an expensive mistake.
Protecting Your Central Florida Home from Stucco Damage
Stucco cracks are part of owning a home in Central Florida. The question isn’t whether you’ll see them—it’s how you respond when you do.
The key takeaway: not all cracks are emergencies, but all cracks deserve attention. Small hairline cracks you can often handle yourself with proper materials and technique. Larger cracks, recurring cracks, or anything showing signs of moisture damage needs professional eyes on it before you decide on a repair approach.
What matters most is understanding what you’re looking at. A crack near a window that keeps coming back isn’t a patching problem—it’s a diagnostic problem. Moisture stains aren’t cosmetic issues—they’re warnings that water is already behind your stucco doing damage you can’t see yet. In Florida’s climate, catching these issues early is the difference between a manageable repair and a major renovation.
If you’re seeing cracks and aren’t sure what you’re dealing with, we offer free assessments throughout Orange County and Central Florida. Sometimes all you need is confirmation that a crack is harmless. Other times, you need someone who can identify the real problem and fix it right the first time—before it becomes expensive.